When it comes to customizing your car, the paintwork is one of the most important factors. You might have a well-designed car, but it will be for nothing if it has a poor paint job.
Seal the bumper first
One of the most difficult parts of the car to wrap is the front bumper. There are many angles in the corner, as well as plenty of wear and tear at the bottom. The bottom part of the front bumper gets scrapes and scratches from speed bumps and parking lot guards. It is important to ensure that you seal it properly. The vinyl wrap doesn’t need to go over the edge, but just enough to stay outside of visual.

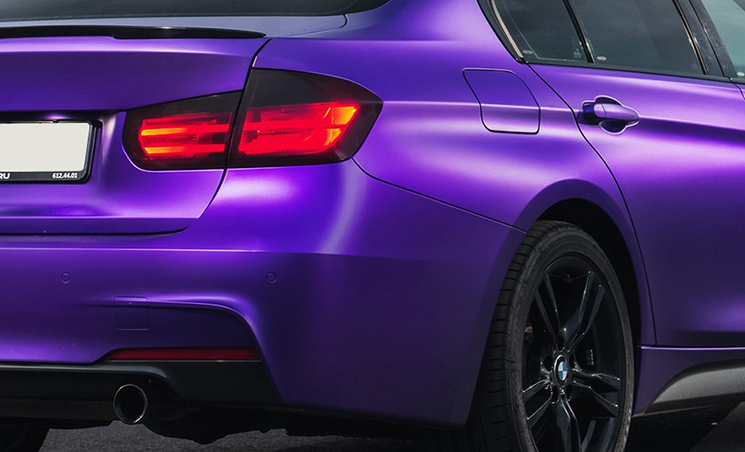
Photo by dctuning.ru, used under Creative Commons 2.0 license
Preparing the car
Before you wrap the front bumper, you need to prepare the car first. The first thing you need to do is to ensure that there are no dust and dirt hiding in the grill and other parts of the front bumper.
Remember to bang the grill and the front bumper to get rid of the accumulated dirt and dust.
You can also use a sheet of pre-mask so that you can keep any dirt from coming out, especially in the lower part of the bumper. Pre-mask is easier to apply than masking tape. To make wrapping easier, you can also apply masking tape to the edges of the headlights. This will allow you to seal the edges super tight. You should also place the knifeless tape that will make it easier for you to cut the edges of the wrap later.
Layout the bumper
The next step is to layout the bumper. That way you can determine if one vinyl sheet is enough to cover the entire front bumper. However, there are front bumpers that are too long, and the vinyl will be short.
You don’t need to use heat when wrapping a front bumper. All you need to do is use the triangle technique in stretching the vinyl into place. Just form a triangle in pulling the vinyl wrap to stretch it.
Everything depends on the material. Some wraps are easy to stretch without the use of heat, while there are other materials that are not too stretchy.
Use a squeegee to get rid of bubbles that might form while you are stretching it. Once you are sure that there are no bubbles, lock the vinyl wrap in. There are times when you might not notice a wrinkle. You don’t need to panic. All you need to do is to cut the vinyl, pick it up to remove the wrinkle, apply some heat to create glass, and bring it back. You should not pull so that lines remain straight.
Sticking the vinyl wrap
The next step requires another person to help you hold the vinyl wrap. One person will be holding the vinyl at one end, while the other person is stretching it into place. When it comes to front bumpers, you need to start low so that you won’t be short at the bottom. Once you think you have it right, lock the vinyl wrap into place. You don’t need to use heat when wrapping a front bumper. All you need to do is use the triangle technique in stretching the vinyl into place. Just form a triangle in pulling the vinyl wrap to stretch it.
Everything depends on the material. Some wraps are easy to stretch without the use of heat, while there are other materials that are not too stretchy.
Use a squeegee to get rid of bubbles that might form while you are stretching it. Once you are sure that there are no bubbles, lock the vinyl wrap in. There are times when you might not notice a wrinkle. You don’t need to panic. All you need to do is to cut the vinyl, pick it up to remove the wrinkle, apply some heat to create glass, and bring it back. You should not pull so that lines remain straight.
1
- ©2026 GarageTool
- Privacy policy
- Terms of service
- Sitemap